How to Build a Sled for Winter Hiking
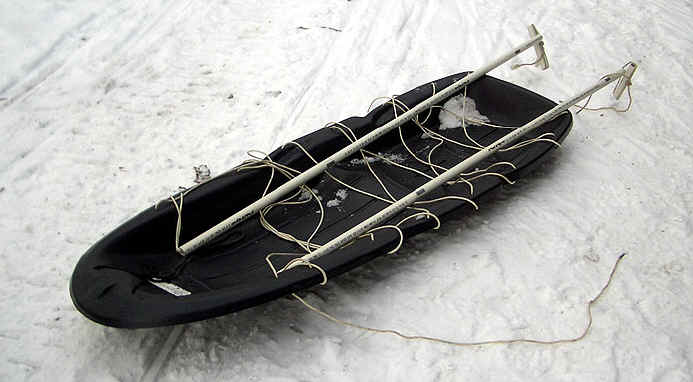 This sled design is cheap and will serve your purposes if you plan on only using it for several trips over a winter.
If you plan on doing a lot of winter overnight hiking, you will probably want to consider purchasing the more
sophisticated sleds with runners. I have carried more than 100 pounds on my sled and have never had a problem.
This sled design is cheap and will serve your purposes if you plan on only using it for several trips over a winter.
If you plan on doing a lot of winter overnight hiking, you will probably want to consider purchasing the more
sophisticated sleds with runners. I have carried more than 100 pounds on my sled and have never had a problem.
Supplies
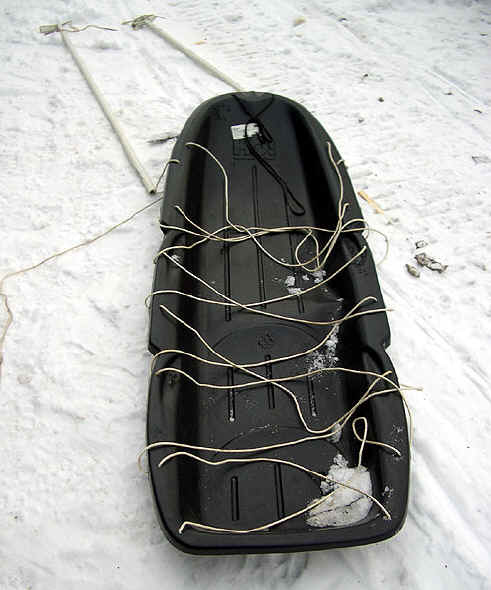
One Cheap Sled:
I bought mine for $20 at Toys R' Us. It's about 5 feet long and made of thin plastic. If you plan on traveling
over rough territory, you may want to purchase one with heavier plastic, although I've banged mine up a lot
and it hasn't torn or broke yet.
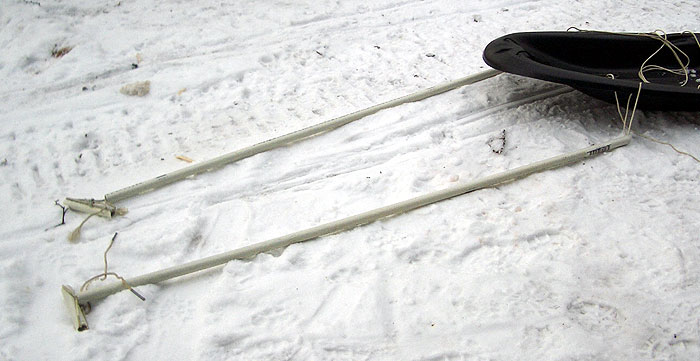
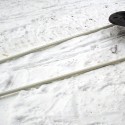
PVC Plastic Pipes (2):
They usually come in 8-foot sections. Buy them with a 1-inch diameter. The pipes don't have to be high grade
but need to withstand the force of the sled with its contents on a downhill slope from knocking into the back
of your feet or skis. Do not get metal as the the cold will make handling them very uncomfortable.
Rope:
Preferably nylon, ¼ inch thick, about 50 feet.
Duct Tape:
You won't need a lot.
Tools
- Drill
- Saw
Steps
- In the front of the sled, just after the curve, drill 2 holes on each side. The holes should be big enough to slide the rope through.
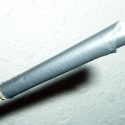
- Saw off a 5 foot section of each pipe. Cut off (2) 6 inch sections with the leftover pipe.
-
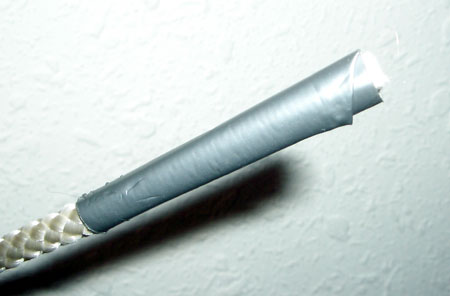
 Take about 16 feet of rope and thread it through one of the holes so 8 feet of it is on either side of the hole.
Use duct tape at the ends of the rope to facilitate feeding. Take both ends of the rope and thread them through
the 5-foot pipe till both ends come out the other side. Make sure the ends are even.
Take about 16 feet of rope and thread it through one of the holes so 8 feet of it is on either side of the hole.
Use duct tape at the ends of the rope to facilitate feeding. Take both ends of the rope and thread them through
the 5-foot pipe till both ends come out the other side. Make sure the ends are even.
-
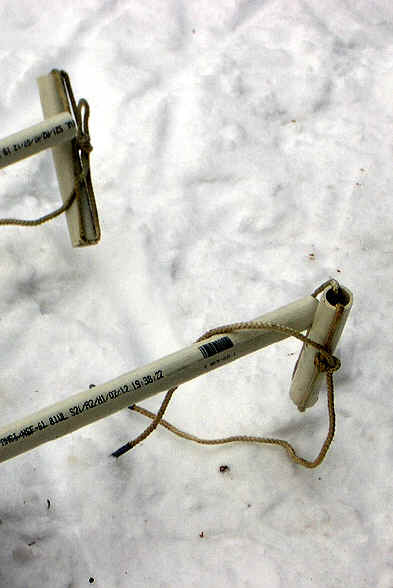
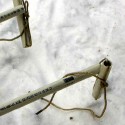 Take one of the 6-inch sections of pipe and thread the 2 ends of rope through it from opposing sides. Tie the 2
ends together and knot. This will be your handle. You want to leave about 6 inches of rope from the sled to the
pipe and about 3 inches from the handle to the other end of the pipe. Cut off the remaining rope. Leave a little
extra if you need to adjust out in the field. Repeat with the other pipe.
Take one of the 6-inch sections of pipe and thread the 2 ends of rope through it from opposing sides. Tie the 2
ends together and knot. This will be your handle. You want to leave about 6 inches of rope from the sled to the
pipe and about 3 inches from the handle to the other end of the pipe. Cut off the remaining rope. Leave a little
extra if you need to adjust out in the field. Repeat with the other pipe.
-
 Drill holes parallel to each other on the both sides of the sled, about one every foot. You can either insert
the rope as if you were lacing up a shoe or use shorter individual ropes for each hole. Duct tape all ends to
avoid fraying.
Drill holes parallel to each other on the both sides of the sled, about one every foot. You can either insert
the rope as if you were lacing up a shoe or use shorter individual ropes for each hole. Duct tape all ends to
avoid fraying.
- Take to a town park, backyard, etc. and test by putting weight on top (about 75 pounds of stuff). Adjust ropes, pipes, and handles as necessary. Check the integrity of the pipe by going downhill.